Photeeq Lens Flare: Create Stunning Light Effects for Your Photos

Understanding Photeeq Lens Flare
Photeeq Lens Flare is a cutting-edge digital tool that adds realistic light streaks and flare effects to photos and videos. Instead of being a flaw, lens flare can now enhance your visuals, adding depth, vibrancy, and a cinematic touch. Photeeq allows users to simulate natural sunlight, studio lights, or artistic flares with precision, giving creative control to both amateur and professional photographers.
Using lens flare correctly can turn an ordinary photo into an engaging visual story, guiding the viewer’s eye and creating a strong mood.
Why Use Photeeq Lens Flare in Photography?
There are several reasons photographers and content creators turn to Photeeq Lens Flare:
- Creative Depth: Flares add a three-dimensional feel to flat images.
- Enhanced Realism: Mimics the way light naturally interacts with camera lenses.
- Mood Creation: Different types of flares can evoke emotions like warmth, energy, or drama.
- Focus Guidance: Helps highlight subjects or direct attention in complex compositions.
Photeeq provides adjustable intensity, color, and angle, making it a flexible tool for any type of visual project.
Different Types of Lens Flares in Photeeq
Photeeq Lens Flare offers multiple customizable flare types, each suited for specific styles:
1. Sunlight Flares
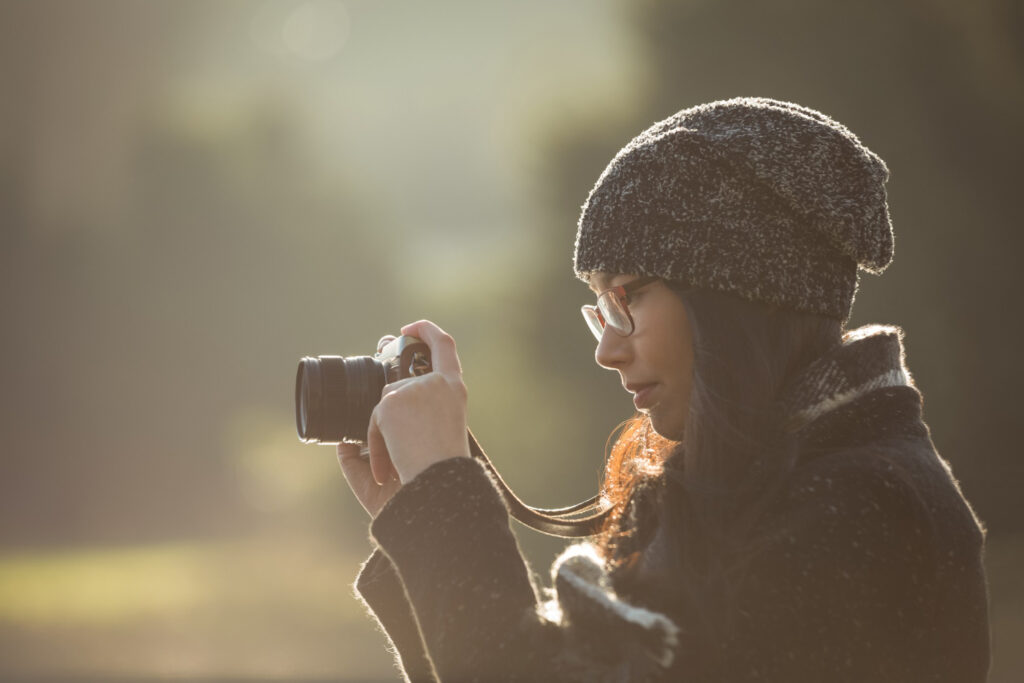
These flares replicate the effect of sunlight hitting your camera lens, perfect for outdoor photos taken during golden hours. They add natural warmth and energy to images.
2. Circular Light Flares
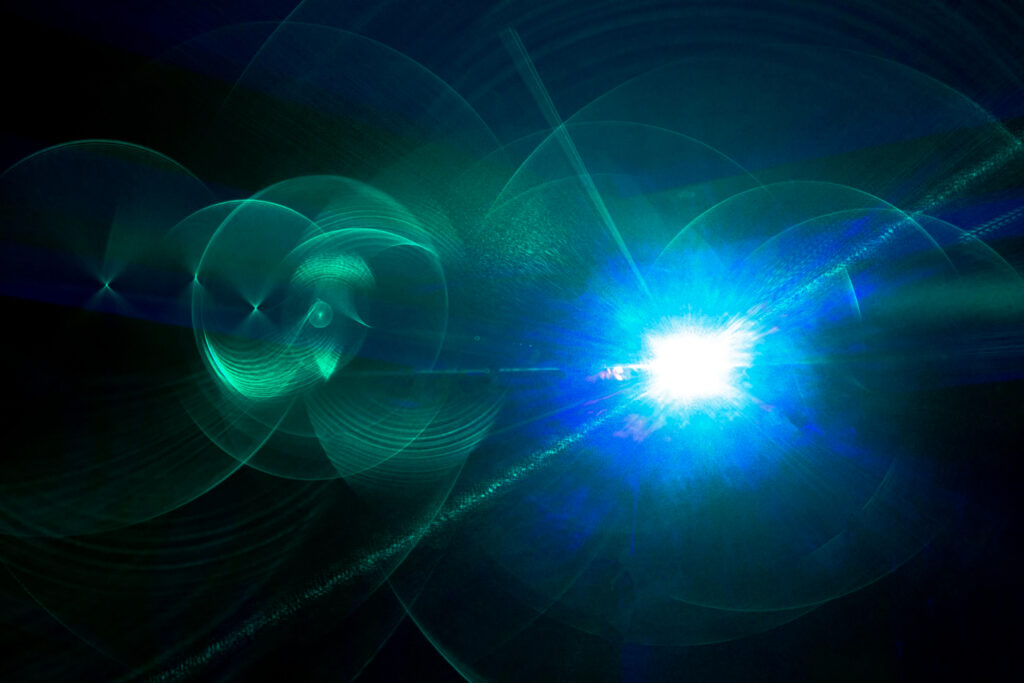
Circular flares produce radiating rings of light, creating a dramatic effect for cinematic photos or advertisements.
3. Geometric Flares
Geometric or polygonal flares offer a modern, artistic aesthetic. They work well in sci-fi or futuristic projects, giving a stylized look to your images.
4. Customizable Flares
Photeeq allows users to design their own flares by adjusting size, transparency, and color gradients. This is ideal for creative freedom and unique visual effects.
Step-by-Step Guide to Using Photeeq Lens Flare
Applying lens flare effectively requires attention to the photo’s light source. Here’s a guide to get professional results:
- Import Your Image: Open your photo in Photeeq.
- Pick a Flare Style: Choose from sunlight, circular, geometric, or custom options.
- Position the Flare: Place it near the light source or where it complements the subject.
- Adjust Brightness: Set the intensity to maintain realism.
- Match Colors: Ensure the flare’s color aligns with the photo’s lighting.
- Preview Before Exporting: Always check for natural blending before finalizing the image.
Following these steps ensures that your flare enhances the image without overpowering it.
Benefits of Using Photeeq Lens Flare
Photeeq Lens Flare offers several advantages over manual editing or basic photo apps:
- Time Efficiency: Pre-set tools speed up the editing process.
- Consistency Across Photos: Maintain the same flare style in a series of images or video frames.
- Creative Exploration: Experiment with different effects without compromising quality.
- High-End Results: Achieve professional, cinematic-quality visuals easily.
Using Photeeq helps images stand out, whether for social media, personal portfolios, or commercial campaigns.
Common Mistakes to Avoid
Even with a powerful tool, misuse can ruin an image. Avoid these pitfalls:
- Too Bright: Overly intense flares can obscure subjects.
- Wrong Placement: Flares should support, not distract from, the main elements.
- Color Mismatch: Ensure flare colors match the photo’s lighting.
- Excessive Use: Too many flares make images look artificial.
Being mindful of these mistakes guarantees professional-looking results.
Creative Tips for Stunning Lens Flare Effects
For impactful visuals, try these approaches:
- Blend with Shadows: Use flares alongside soft shadows to enhance depth.
- Experiment with Angles: A slight angle shift can create more dynamic visuals.
- Combine with Filters: Filters can enhance the flare naturally, without appearing fake.
- Motion Emphasis: Flares can highlight movement in photos or videos.
These creative strategies help you make the most of Photeeq’s capabilities.
Using Photeeq Lens Flare in Videos
Lens flare is highly effective in video content. With Photeeq:
- Apply cinematic lighting to video scenes.
- Smoothly transition moods by adjusting flare intensity.
- Direct viewer focus during storytelling.
Professional filmmakers and content creators choose Photeeq for realistic and precise flare effects, elevating their video production quality.
Why Photeeq Stands Out from Other Tools
Photeeq Lens Flare is superior due to:
- Precision Control: Adjust brightness, size, and position with accuracy.
- Extensive Flare Library: Multiple styles suit different creative needs.
- User-Friendly Interface: Easy for both beginners and pros.
- High-Resolution Output: Keeps visuals crisp, even for large prints or HD videos.
Unlike generic software, Photeeq combines ease-of-use with professional-grade results.
Conclusion: Elevate Your Visuals with Photeeq Lens Flare
Photeeq Lens Flare transforms ordinary photos and videos into engaging, high-quality visuals. From natural sunlight to artistic geometric flares, it offers unmatched control, creativity, and realism.
Understanding the types of flares, avoiding common mistakes, and experimenting creatively ensures your images and videos stand out. Whether for social media, portfolios, or commercial projects, Photeeq Lens Flare is an essential tool for achieving professional and captivating results.
Also Read: Colombia Flag: Meaning, History, Colors, and Cultural Importance


1 comment